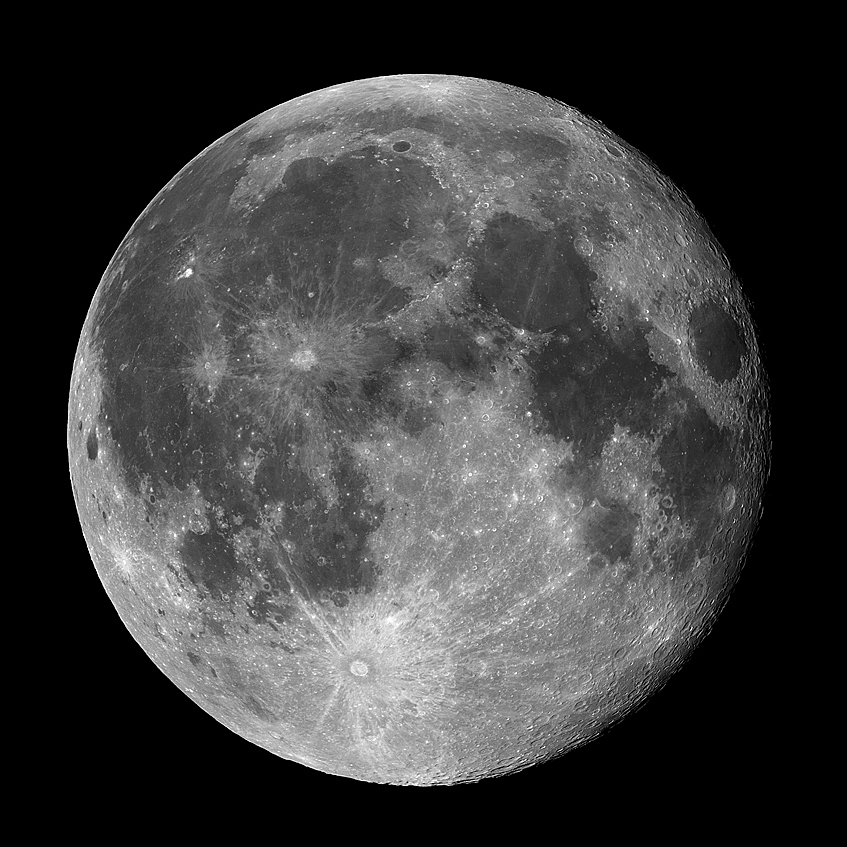


At this point you should be pretty happy with the image. Sometimes it helps to add a Levels and/or Curves Adjustment layer to tweak the image contrast. Be careful not to go too far that you burn out highlights or lose dim shadow areas. As an optional step you may wish to rotate the image so that the poles and/or terminator line up vertically (Image | Rotate Canvas | Arbitrary...). In all likelihood your mosaic did not end up perfectly centered on the canvas. The best way to fix this is to simply use the image crop tool to cut away excess canvas area. Save these intermediate steps with unique filenames. As a final step flatten the layers (Layer | Flatten Image) and save off as a JPEG file to share with other folks on the internet (File | Save As...). If your image is large you may want to resample the image to smaller dimensions so that it will fit in a browser window (Image | Image Size…). You may also want to post a link to the larger image as well. See Figure 9 for a final processed image.

Figure 9. The final processed image. The full resolution image can be found in the author’s gallery at http://celestialwonders.com.
<PREVIOUS SECTION> <MAIN> <NEXT SECTION>